As is often the case when trying out something new, you might encounter some hiccups. You're trying out our Eightshift Boilerplate, but can't get it to work? Worry not, we'll go through the setup and the most common issues that may occur.
Last updated: 23rd August, 2022
If you haven't already, be sure to read our official Eightshift Docs.
Setup
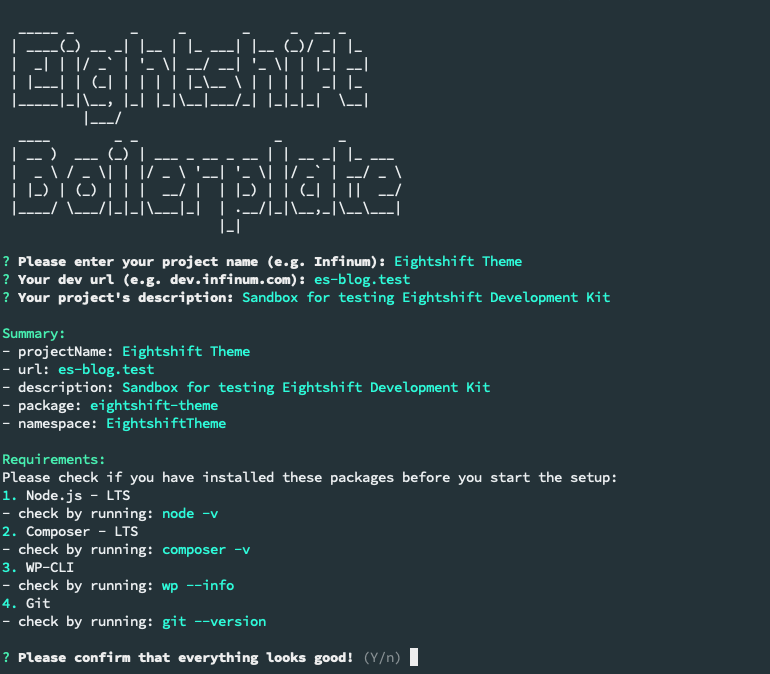
To create Eightshift theme, navigate to wp-content/themes in your project and type the following in the terminal:
npx create-wp-project
Just follow the instructions and wait for the theme to download.

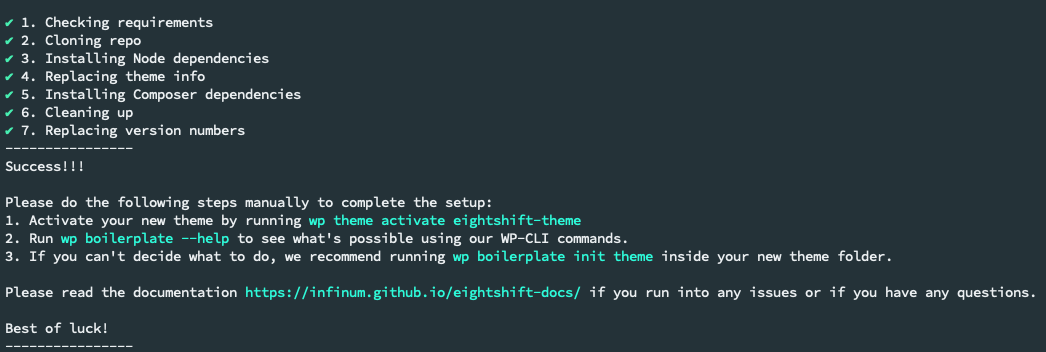
OK, you went through the process, filled out all required information, but the theme still isn't working. There are a few more instructions in the terminal on what to do next, but you may have skipped them. While the principle "6 hours of debugging can save you 5 minutes of reading documentation" is fun, sometimes it's just not worth it. Here's what you should do:
- run
wp theme activate your-theme-nameto activate your new theme - navigate to
wp-content/themes/your-theme-name - try running
wp boilerplate --helpto check if our WP CLI boilerplate commands work - for easiest initial setup, run
wp boilerplate init theme npm startshould trigger automatically with the previous command. If it doesn't, you can run it manually to finish the theme build process

Congratulations, you've set up your Eightshift theme!
Getting to know Eightshift dev tools
After successfully setting up the theme and going through files, you'll notice this file structure is quite different from traditional WordPress themes and you may think to yourself: "Oh wow, what did I get myself into?"
While it may look scary and confusing at first, once you get used to the structure, you'll see the benefits. More about that will be covered in future posts, where we'll walk you through some basics of developing with Eightshift Boilerplate.
You may want to try a few of our WP CLI commands to add another component, block, or service class. Running wp boilerplate --help will give you a list of commands and their short description. If you need even more details about a specific command, you can type, e.g. wp boilerplate create post-type --help
The final tip in this post is related to troubleshooting. Maybe you tried to add a new class or a new feature to one of the existing blocks. And now the site has crashed. In tech support, the number 1 question is "Have you tried turning it off and on again?". In our case, the number 1 question is:
Have you tried
composer dump-autoloadand re-runningnpm start?
What's next in store?
That's all for this post. In future posts we'll go through some more how-to examples like:
- the difference between components and blocks
- downloading components and blocks from our Storybook with WP-CLI
- adding new features to components and blocks
- adding custom fonts to your project
- adding custom queries which we'll use in one of our blocks
- and many more...
So stay tuned.