Although there are a few basic blocks available after creating a project, there are a lot more blocks available in the dev kit. However, you have to add them to your project using WP-CLI (the simplest method). To see the complete list of available components and blocks, visit our Storybook.
These can be used out-of-the-box, but also as a good starting point if you need similar blocks in your projects. It will also speed up your development time since you don't have to build everything from scratch.
Last updated: 23rd August, 2022
Storybook
Storybook allows you to preview how the components and blocks look and which options they have available. Since Storybook is interactive, you can try out most of the options. Think of it as a catalog with all custom blocks we've built and made ready for public use.
Each entry in Storybook should have documentation that explains the block in more detail, along with implementation instructions. Before using any block, be sure to check Dependencies section. Although Implementation section lists all the necessary WP-CLI commands required to use a specific block or a component, it is recommended to check if you have the required dependencies ready in your theme.
WP-CLI commands
If you've read our Initial Setup post, you're already familiar with our custom WP-CLI commands. For implementing additional components, we have wp boilerplate blocks use-component --name= command. For blocks, we have wp boilerplate blocks use-block --name= command.
Adding new component and block in our project
Let's say we need a Quote block in our project. After going through the documentation of the Quote block, we see that we have one dependency, and that is the Quote component. So, to make Quote block available in our project, we need two WP-CLI commands:
wp boilerplate blocks use-block --name=quote
wp boilerplate blocks use-component --name=quote
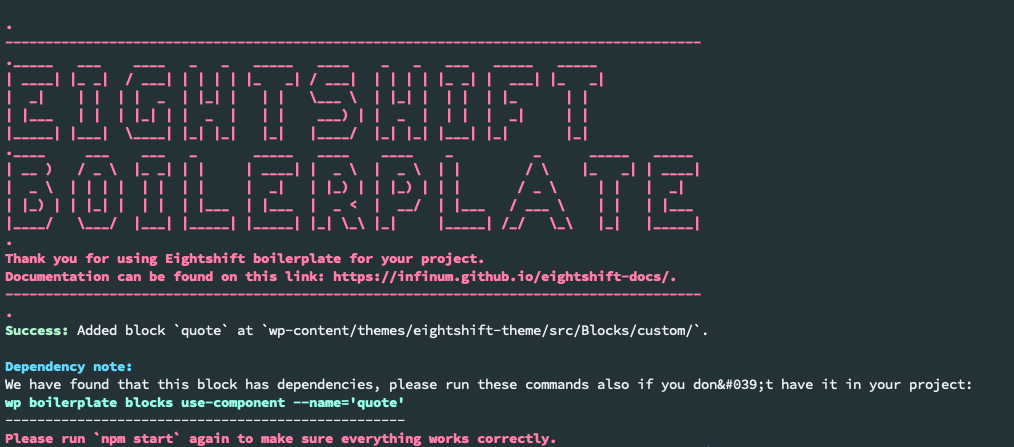
When entering the wp boilerplate blocks use-block --name='quote' command, you'll notice the note about a block dependency on the Quote component. So you should run the second command as well.

After entering these commands, run npm start again to make sure everything works properly.
The Quote block is now ready to use and available in your blocks list. You may use it as-is, or you may want to expand its functionalities with some additional attributes. More about that will be covered in the next blog post.
Using Example block
If you want to build a block almost from scratch, you can use our Example block. This is a very simple block that generates all necessary files with some example options. To add an Example block to your project, use the following WP-CLI command:
wp boilerplate blocks use-block --name=example
Since our blocks use a predefined structure to make everything register automatically, adding Example block with WP-CLI will generate all required files. After it's added, feel free to rename the folder, as well as files with the name of your block and start modifying all the files. Simply replace "example" with the name of your block.
Further reading
Our documentation has all this covered in a lot more detail, so if you would like to better understand the structure of our blocks and components, here are some chapters covering these topics: